
LED Display Screen Maintenance and Repair Guide
An LED wall is a tiled electrical system, not a TV with a bigger remote. Daily care keeps dust, moisture, and bad power-up habits from killing cabinets. When something fails, identify the fault, power down, and get the right spare or the factory involved—do not rework lamp beads on a folding table.
This guide is for crews running SFxDisplay rental, fixed, COB, and mobile walls. If you did not build the module, do not try to rebuild the LEDs.
Essential care
Runtime. Event walls should not sit on a full-white test pattern for days. Use black or standby when nobody is watching. 24/7 advertising, taxi, and trailer faces are meant to run continuously when specified for that duty; they still need brightness schedules, ventilation, and spares. A 72-hour full-white cycle is how we age cabinets in the factory, not a rule that an installed wall must be shut off every three days.
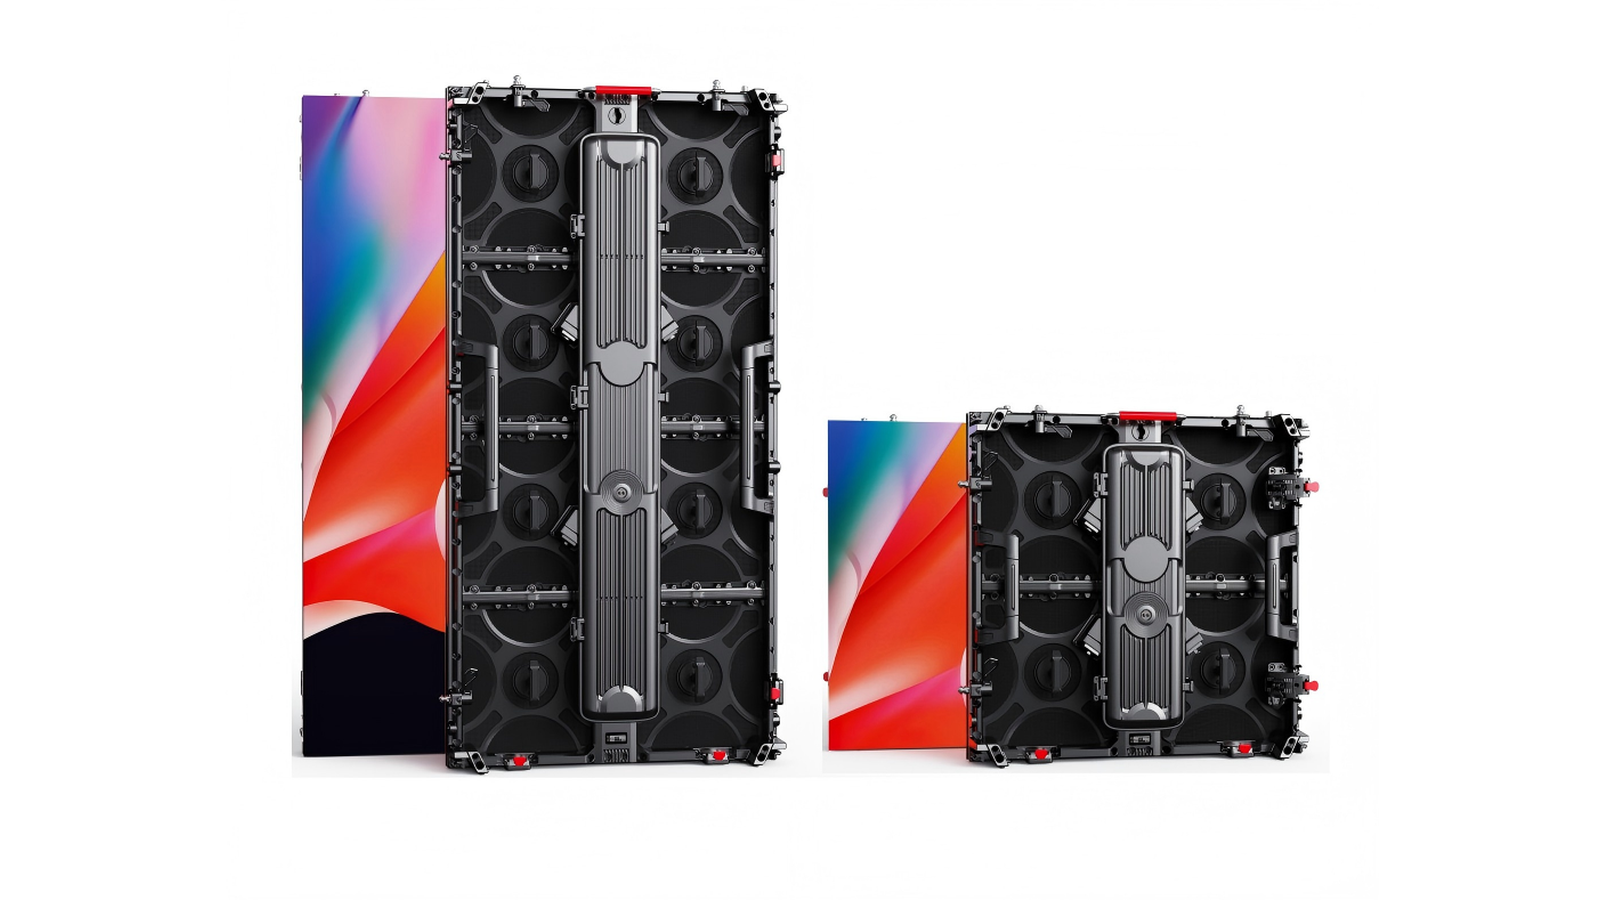
Physical damage and who opens a cabinet. Use flight cases, protective plates, and two people on a 500×1000 cabinet. Power supplies sit on mains-voltage assemblies. Unqualified people should not pull PSUs or open an outdoor cabinet in the rain. Trained techs with ESD protection and the right spare: yes. Everyone else: photograph, power off, call.
Dust, water, and humidity. Keep faces and intakes away from grinders, pyro fallout, pressure washers, and drink stations. If a wall gets wet, kill power at the source and do not apply power to dry it. Moving a cold wall into a humid hall can put water on the mask—wipe it, wait, and do not power on while you can still see condensation. Keep spares in sealed bags with desiccant.
Inspections. Touring walls: walk hang, locks, power, and data every load-in and strike. Fixed walls: a hardware check every 6–12 months. After lightning, flooding, or a vehicle strike, inspect before the next power-up.
Power-up and power-down order
Power on: cabinets dry, connectors seated → playback source → sending device / processor (confirm a stable output) → LED wall last.
Power off: black or mute if you can → LED wall first → processor → source.
Do not hot-plug ribbons or power tails on a live cabinet. If a section fails to come up, shut the wall down and troubleshoot cold unless the rest is clearly isolated and safe.
How to clean an LED screen
- Power off at the rack or breaker.
- Dry dust first with a clean microfiber cloth. No paper towels.
- If needed, lightly dampen the cloth with high-purity distilled water (or a module-safe anti-static cleaner). Wring it almost dry.
- Never spray water or cleaner onto the modules. Liquid in the mask or HUB connector is a repair, not a shine.
- No ammonia, alcohol baths, kitchen degreaser, or abrasive pads.
- Let the face dry completely before power-up.
Outdoor cabinets still do not take a pressure washer on the LED face. COB and GOB (as on the tri-fold screen) wipe more easily than bare SMD. They are still not countertops.
Same-bin spare modules
A spare from a different brightness or color bin will fix the electronics and ruin the picture—a square that is too blue or too dim on a white field.
Order same-bin, same-batch modules with the wall. Store them dry, anti-static, labeled with job number and pitch. Keep at least one known-good spare PSU and receiving card per cabinet type. After a swap, run white and RGB fields. If the new square does not match, stop and call us.
How many spares depends on area, pitch, and whether the wall tours. Put the kit in the original customize brief.
When to swap a module vs when to call SFxDisplay
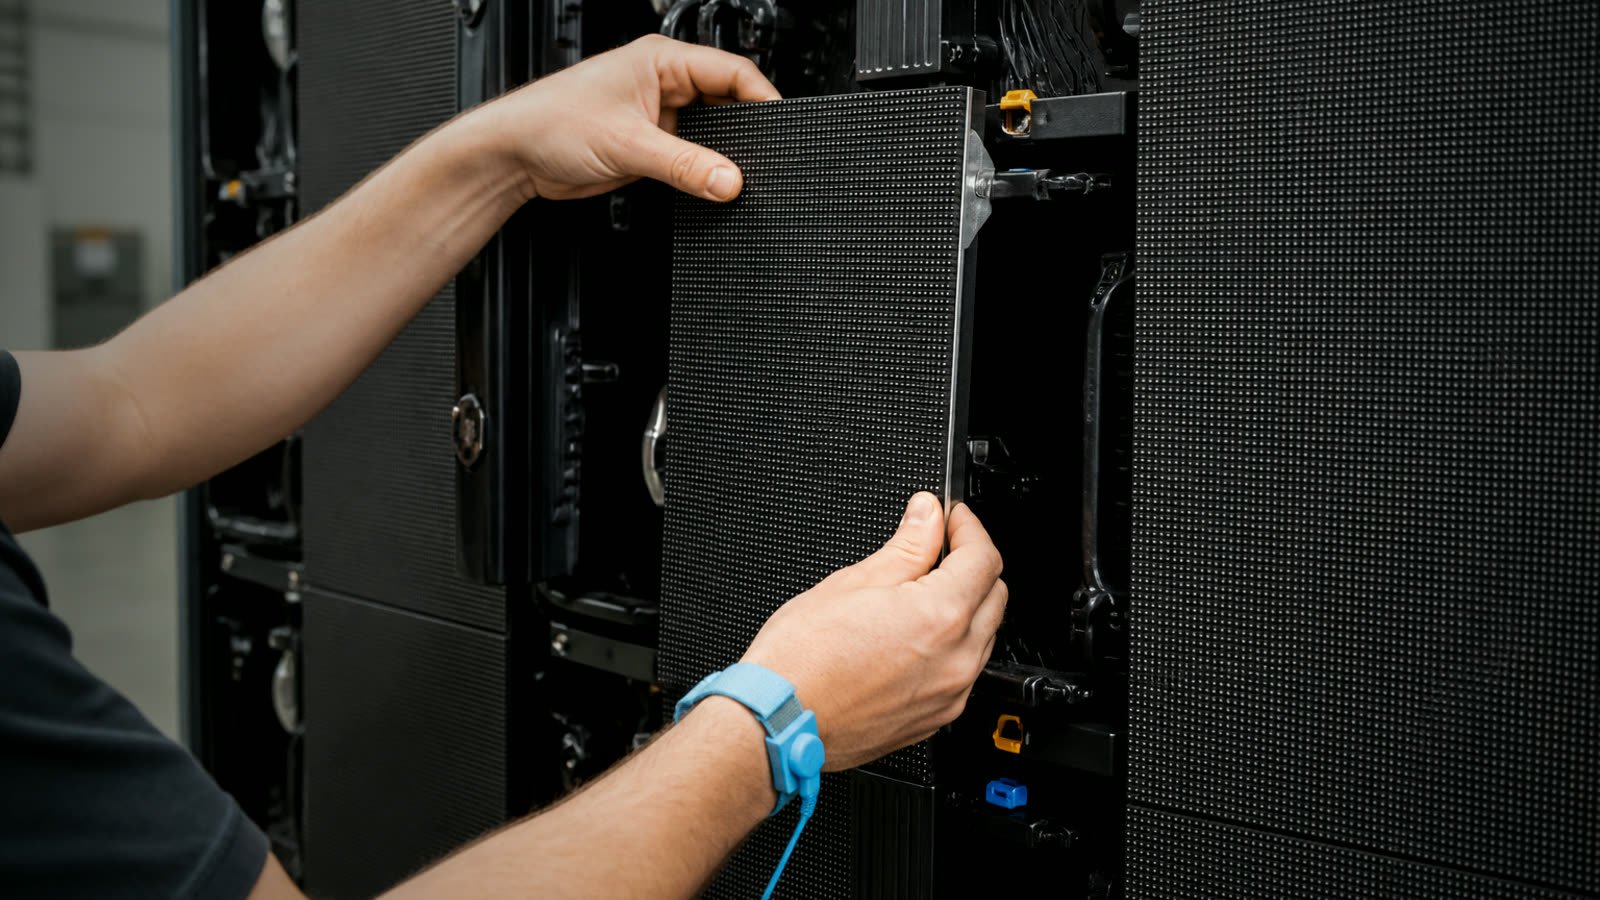
A trained technician may swap a module when the wall is powered down, ESD precautions are in place, the spare is same pitch, same scan, same bin, and the fault is localized (one module dark or garbled, or the problem follows that module). Not water, not burning smell, not a whole cabinet that will not power.
Stop and contact SFxDisplay when you are tempted to reflow LEDs, replace lamp beads, or swap driver ICs; when the face is COB or GOB with damage in the potting; when a whole cabinet or data line is down, you smell a PSU, or breakers trip; when caterpillar lines or missing color hit multiple modules; when a spare swap did not move the fault; or when the wall was wet, struck, or surged.
What we need: product type, pitch, cabinet size, photos of the face and the rear of the suspect module, and whether you already tried a known-good spare.
Common faults: identify them, then stop
Use this list to name what you see. It is not a license to solder.
Dead pixels. Photograph the area on black and on white, note coordinates, power off if the area is growing or wet, and send the photos. Do not pick beads or rework the face.
“Caterpillar” lines (a bright line on a black screen). Usually a leaking LED or a driver problem. Power down. A qualified tech can swap a module to isolate it. Do not heat individual LEDs as a test.
Missing color blocks. Often a driver IC, a color channel, or a ribbon not seated. Power off. A trained tech can reseat the HUB cable and try a same-bin module. If the pattern remains, call the factory.
Black screen. One module: ribbon and spare. One cabinet: PSU indicator without dismantling live hardware; confirm the power tail and data in. Whole wall: building power, processor output, first sending link. If breakers tripped, find why before you reset them into a short.
Garbled or flashing picture. Check ribbon orientation, HUB, network cable, and processor map. If a module swap makes the garbage move with the module, bag that module and use a same-bin spare. If it stays in the seat, look at the cable or receiving card—still with power off.
Anti-static precautions are mandatory around exposed cards. They are not a substitute for mains safety.
FAQ
Can I replace a dead LED myself if I am careful? No. Identify, power off, swap a same-bin module if you are qualified, or send the module back.
What should I clean with? A dry microfiber cloth, then distilled water on a barely damp cloth. Never spray the face. Never use household glass cleaner.
Why did my spare module look the wrong color? Almost always a different brightness or chromaticity bin. Label kits by job. We can bin-match replacements if you send the original module ID.
How often should a 24/7 outdoor wall be shut down? It does not need an arbitrary 72-hour off cycle. It needs brightness scheduling, ventilation, dry cabinets, and a spare plan. Taxi and trailer products are built for long duty; still inspect seals after storms.
Get factory help before a small fault becomes a wall
Photograph the face, power down if it is unsafe, and tell us the pitch and cabinet ID.
Contact SFxDisplay for spare same-bin modules, receiving cards, or a technician-to-technician diagnosis. This page stays at the same URL.