
How to Customize an LED Display
Customizing an LED screen is not picking a panel and hoping the room cooperates. The wall has to fit the site, the closest viewer, the content, and the hang. Get those decisions in order and the hardware almost specifies itself.
This is the factory path we use at SFxDisplay. Send photos of the space and we will turn them into a layout, a cabinet count, and a quote.
Check the site before you talk about pixels
Answer these before anyone names a model.
Indoor or outdoor? That choice drives brightness, sealing, and cabinet design. Indoor rental cabinets are not outdoor walls with the brightness turned down. Our LED rental screens list indoor IP44 and outdoor IP65 options; fixed mounting outdoor cabinets are specified IP66. A wall behind glass in a bright atrium is a high-ambient indoor problem, not a true outdoor one.
Viewing distance and light. Measure the nearest viewer who matters and the back row. Stage wash, storefront daylight, and a dim control room do not share a nit target. Outdoor and trailer faces are built for sun; COB is built for close indoor viewing, not noon parking lots.
Structure, power, and access. Note cabinet weight, steel, circuits, where the processor will live, and whether a technician can reach the face or only the rear. Front vs rear service is an install decision, not a last-minute accessory. If you lack a structural note, say so. We would rather size the wall to the beam than force a beam to a wall.
Pick pixel pitch from viewing distance
Smaller pitch looks sharper up close and costs more per square meter. Choose it from the closest viewer, not from a wish for “4K” on a twelve-foot wall. A practical start: treat 1 mm of pitch as about 1 meter of comfortable minimum viewing, then tighten for fine text or IMAG and loosen for motion graphics farther back.
SFxDisplay’s actual lineup—not a generic P2–P4 / P8+ shortcut:
| Closest viewing | Typical pitch | Catalog |
|---|---|---|
| 0.6–2 m (boardrooms, luxury retail, control rooms) | P0.6 / P0.78 / P0.93 / P1.25 / P1.56 | COB indoor |
| 2–6 m (indoor stages, booths, ballrooms) | P1.5 / P1.9 / P2.6 | Indoor LED rental |
| 6–15 m (concerts, exhibitions, large halls) | P2.9 / P3.91 | Indoor or outdoor rental, 500×500 or 500×1000 cabinets |
| Street, plaza, building facade | P2.9 through P10 | Fixed mounting |
| Columns, cylinders, custom storefronts | P1.25–P2.5 flexible | Curved LED |
Crowd-facing rental that still needs a tough close view is often GOB-protected product such as the LED tri-fold screen. Vehicle jobs start from the taxi LED screen or trailer page. Do not buy a finer pitch “for future 4K.” A 4 m-wide P2.6 wall is not a 4K canvas. Spend the budget on brightness headroom, spare modules, and a processor that matches how you play content.
Decide size and shape on a cabinet grid
LED walls are tiled. Custom means we design to a module and cabinet grid, then hide the rest in the scenic.
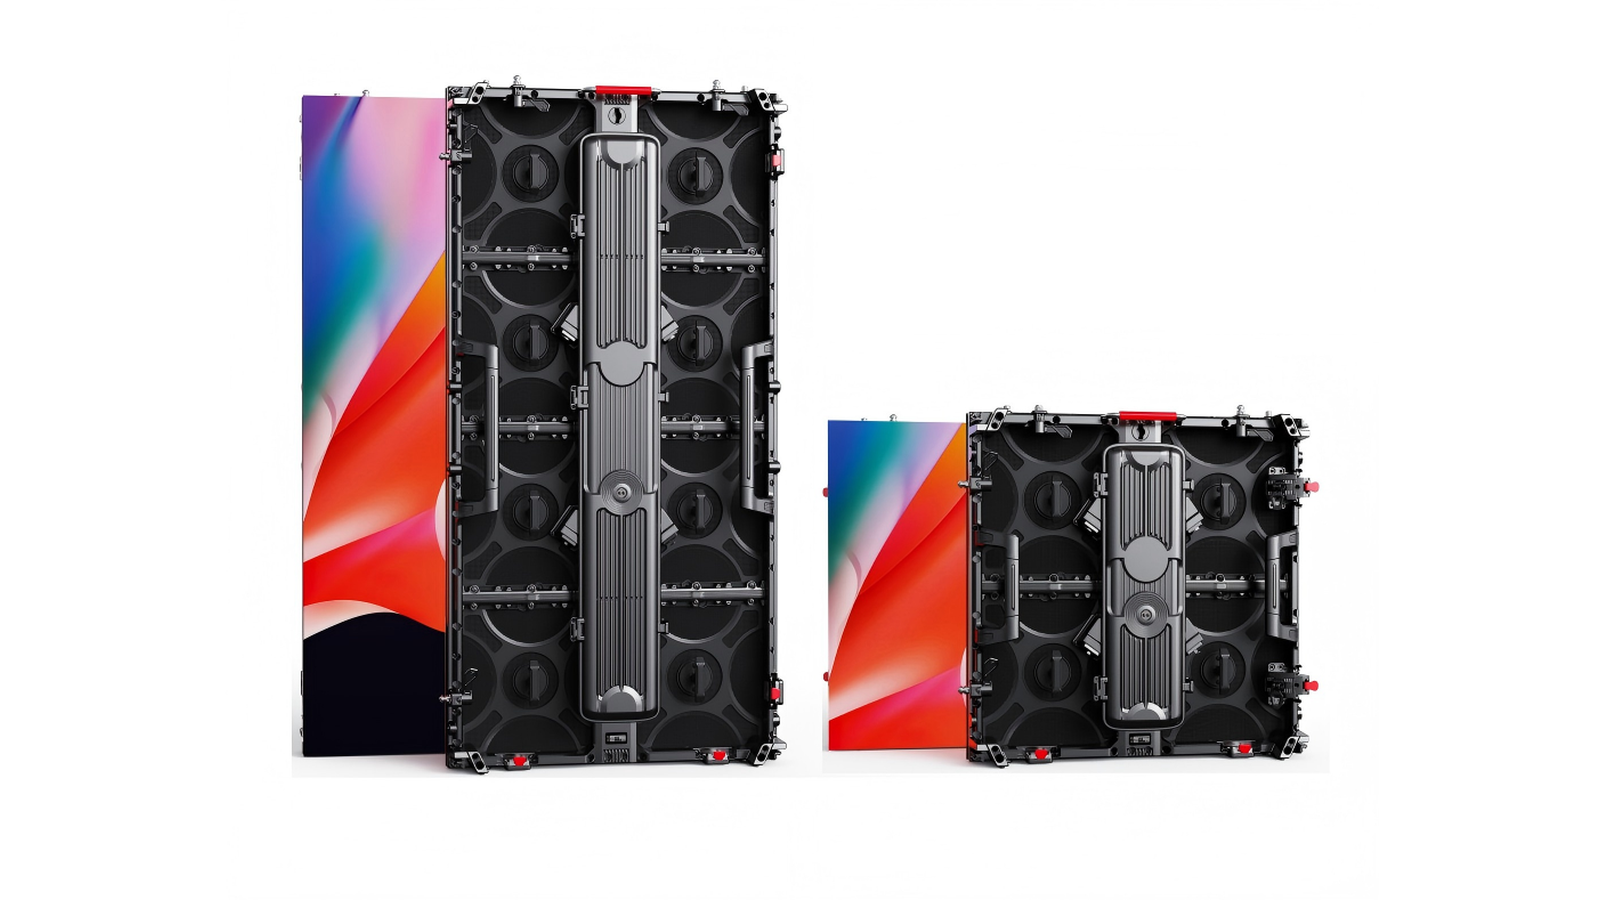
Rental. Cabinets are 500×500 mm and 500×1000 mm die-cast aluminum, hang or ground-stack. Size in those increments first. A 6 m × 4 m face is a clean 12 × 8 of 500 mm tiles.
Fixed install. Fixed mounting cabinets come in 500×1000, 500×750, 750×1000, and 960×960 mm, with front and rear service and optional 3D corner cabinets. Match the grid to the opening.
Curves and specialty. Flat is cheapest. Custom curved arcs, cylinders, and store signage are buildable; they add drawings and tighter bin matching. Bring radius, height, and inner vs outer curve. Trailers, taxi tops, DJ booths, holographic boxes, and tri-folds are customized around a product platform. Put the use case in the first sentence of the brief.
Choose LED components for uniformity
For custom work, bin matching matters more than a lamp name on one reel. Ask in writing for indoor vs outdoor lamp and mask; a brightness target in nits for your ambient light; brightness and chromaticity bins, with spares from the same bin and batch; module flatness; and receiving cards that match the control system you already own.
We run a 72-hour burn-in on full white and full-color cycles before packing. That is a factory test, not a runtime limit for an installed wall. Lamp families we commonly build with include Nationstar, Kinglight, and Rayshine. The right choice is the one we can bin, age, and spare for this wall.
Set up the control system as part of the wall
A custom display is a signal path: source → processor → receiving cards → modules. We typically ship NovaStar; Colorlight and Huidu are optional when a house standard requires them. Decide up front: synchronous (IMAG, playback server) vs asynchronous (stand-alone player, 4G/Wi-Fi); who updates content; refresh rate if cameras will shoot the wall; CAT vs fiber past about 100 m. Remote update is how a trailer, taxi fleet, or mall atrium avoids a truck roll to change a logo.
Plan installation, service, and spares on day one
Rental columns want rated motors, steels, and a ground-stack option. Fixed walls want a surveyed structure and a way to pull a module without dismantling the feature. Front-service magnets save a room behind the wall; rear service is faster in a proper LED closet. Pick one primary method.
A custom wall without matching spares is not finished. Pack a small kit from the same production bin, plus a spare PSU and receiving card. How to use them is in our LED display maintenance and repair guide. Mapping, brightness presets, and a power-up order belong in the pack-out.
What actually affects cost
Pixel pitch still dominates. After that: total area; indoor vs outdoor; shape (curves, corners, mobile platforms); install reality (high steel, weak walls, long fiber); component grade and a real spare kit; and the processor. Leaving control out of a comparison is how “cheap” walls get expensive. Custom costs more than a stock rectangle. The point is a wall that fits the room or the truck—not a unique shape for its own sake.
How to brief the factory
Send SFxDisplay photos and a sketch with width, height, and viewing distances; indoor/outdoor, hang or stack, front or rear service; content type; any house processor standard; country of install and 110 vs 220 V; and whether you need layout only, product, or turnkey. Standard rental and fixed cabinets typically take 7–10 days of production; irregular and trailer work takes longer.
Ask any factory the same questions: a similar custom job, who owns engineering, same-bin spares, and after-sales in hours not slogans. Do not compare prices until those answers are in writing.
FAQ
Can I take indoor rental cabinets outside for one night? No. Use outdoor-rated rental or a trailer. Indoor IP44 cabinets are not a shortcut around dew or a storm.
Do I need COB if viewers get close? Around a meter, with a wipeable fixed indoor face, COB is the right conversation. For touring, P1.5–P2.6 rental (or GOB on tri-fold / booth product) is usually the better service story.
Can the wall be any size? Any size on the module grid. Off-grid sizes mean extra frames or a different cabinet. Send the opening; we will give the nearest clean size.
Which control system should I buy? Match what your techs already know. NovaStar is our standard; Colorlight or Huidu when that is the house spec.
Ready to spec the wall?
If you know the room, send it. If you only know the idea—curved lobby, 500×1000 stage wall, taxi fleet, mall COB—say that.
Contact SFxDisplay with site photos and viewing distances. This page keeps its URL; it is the living customize guide, not a one-off post.